How to get a Free Hosting?. This is the most famous question rising for these beginners after they got the domain for their blog. There is only one way to get the hosting as the free of cost for lifetime. But it limitens the web customisation. We will discuss about it briefly with pros and cons.
At first Hosting is not a costly service. Most of the Hosting providers offers hosting as low as $1 per month. This means only $12 yearly for the Hosting.
But if you are a student or don’t want to buy these hosting services then there is a one way to get the Hosting as Free.
1. In this method we are using the Blogger hosting as the Free Hosting. Yes Google’s Blogger.com allow us to use our domain on their platform.
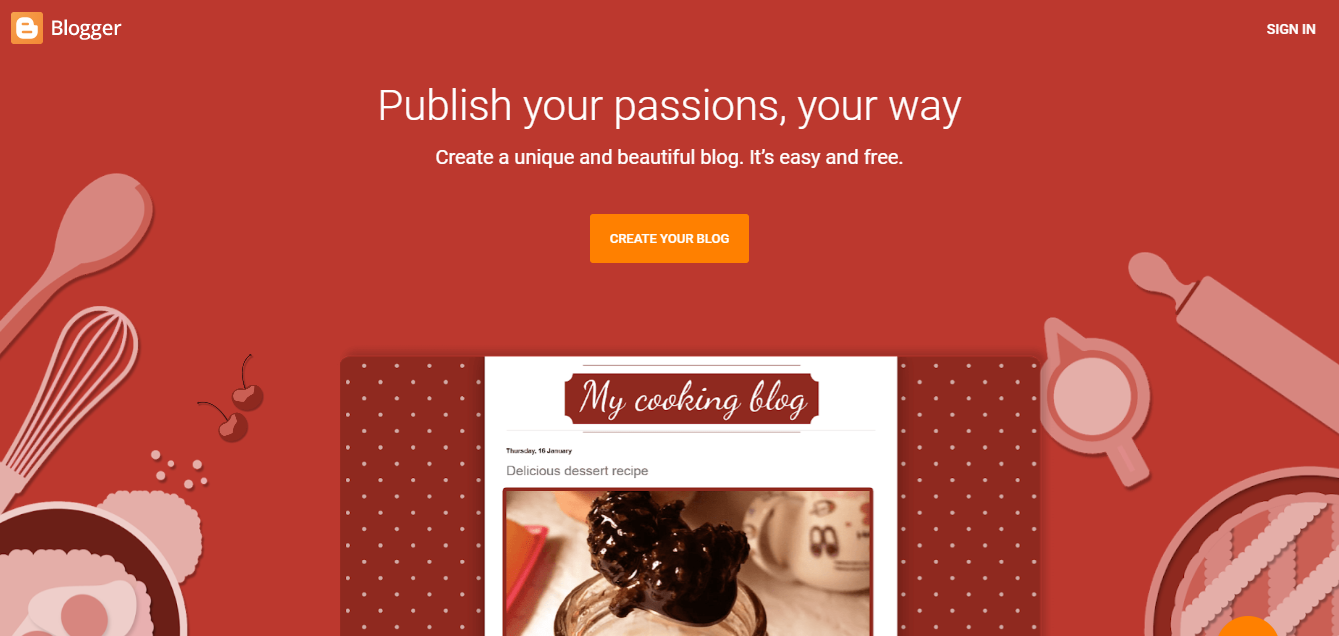
2. Go to Blogger.com and click “CREATE YOUR BLOG”.

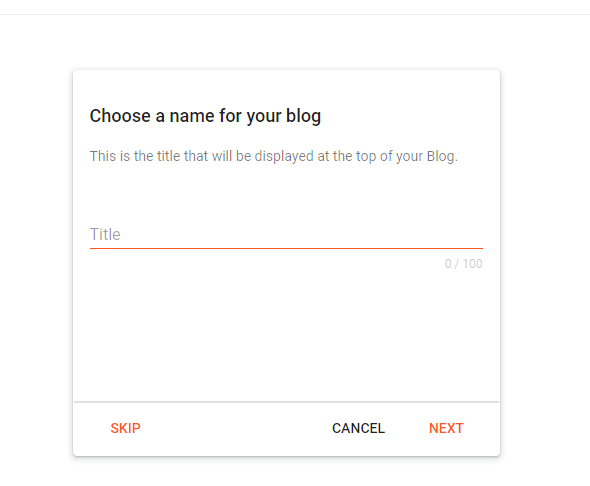
3. After that you will see “Choose a Name for your Blog” where you want to give the Title of your Blog.

4. After that you need to choose a URL for your blog. For me I had given “readerzo.blogspot.com”

5. Now you have created your blog on Blogger.
6. In the Left Bar you can see see “SETTINGS” and go-to “Publishing” where you can see the “Custom Domain”. Click here your Domain Name like me “www.readerz.org”

7. Go to your domain provider’s website. Open your DNS settings.
Add these 4 A-records for that @ point to Google IPs:
216.239.32.21
216.239.34.21
216.239.36.21
216.239.38.21
8. To redirect your “blogname.blogspot.com” domain to your “blogname.com”, you need to click ON the “Redirect Domain”. Sothat, your blogspot blog shows in your custom domain.
9. Now you have finished your setting. Within 1 hour your DNS will be propagated to the Blogger.
10. Finally we have got the Free HOSTING with the Blogger.
Suggested Post: How To Customize A Blogger Blog? (With Images)